Returns are an unavoidable part of online shopping. With eCommerce booming, ensuring a smooth returns process has become essential for customer satisfaction.
That’s where return labels come in.
They are not just shipping labels; they are the bridge between customers and hassle-free returns.
Think about this: nearly 30% of online purchases are returned, and about 46% of retailers offer free returns to encourage repeat customers. Having a well-structured return process isn’t just an option -it’s a necessity.
Through this blog we’ll get into what return labels are, how they work, and how businesses can leverage them for efficiency.
Let’s get started

What Exactly Are Return Labels?
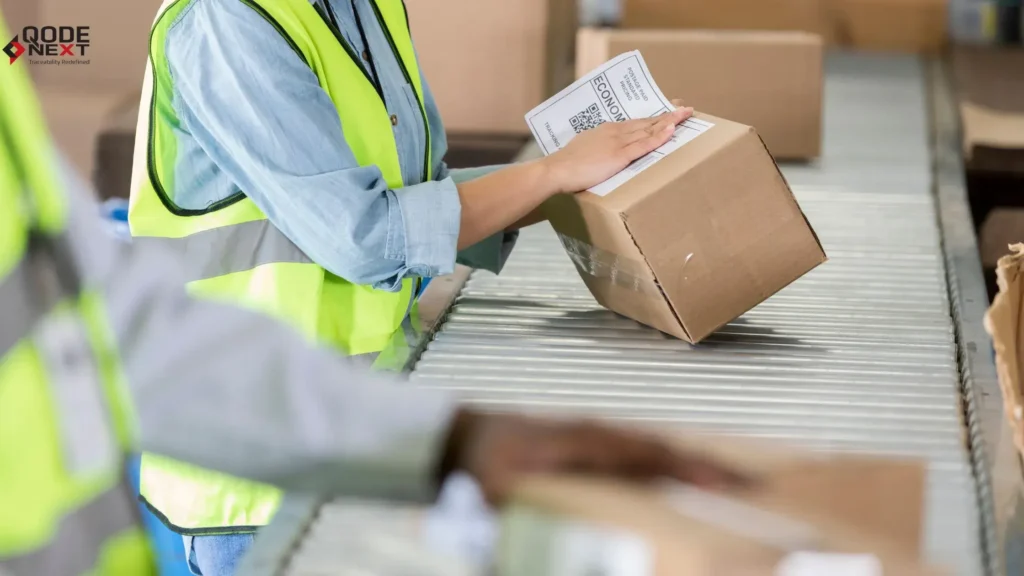
A return label is a shipping label which is generated from before that allows customers to send back products seamlessly.
It ensures that returns are processed correctly and reach the right destination without unnecessary delays.
Each return shipping label contains essential details like:
- Sender and recipient addresses
- A tracking number for easy monitoring
- Shipping instructions specific to the carrier
These labels are either included in the original shipment or provided digitally upon request. Instead of filling out return details manually, customers can simply print and attach the label, making the process effortless.
Key Benefits of Return Labels
Using return labels simplifies returns for both businesses and customers. Here’s why they are essential:
- Hassle-Free Returns
They streamline the process, making it easier for customers to send items back.
- Accurate Addressing
Pre-filled information reduces errors in shipments.
- Real-Time Tracking
Both customers and businesses can track returns, ensuring transparency.
- Saves Time and Effort
Automated label generation speeds up processing and reduces manual work.
Now that we understand why they matter, let’s explore how return label shipping works.
How Return Label Shipping Works
Handling returns efficiently involves several key steps:
1. Customer Requests a Return
Customers initiate a return via the retailer’s website or customer service. They provide product details and the reason for the return.
2. Return Approval and Label Generation
Once the request is verified, the business generates a return label with all the required shipping details. Tracking numbers and QR codes are also assigned for better monitoring.
3. Sharing the Return Label with the Customer
Retailers send the return label either electronically (via email or a download link) or physically (included in the original package). Many retailers now offer digital return labels for added convenience.
4. Packaging the Product
Customers package the product securely to prevent damage during transit. They then attach the return label clearly on the package.
5. Shipping the Return
The customer can either drop off the package at a carrier location or schedule a pickup. Prepaid return labels simplify this process as customers don’t have to pay upfront.
6. Carrier Handles the Return
The package is scanned, tracked, and transported to the retailer’s return center. Any delays or issues are updated via tracking systems.
7. Refund or Exchange Processing
Once the package is received, the retailer inspects it and processes a refund, exchange, or replacement based on their return policy. Customers are then notified of the completed return process.
Since we now understand the return shipping process, let’s look at how to create a return shipping label effectively.
How to Create a Return Shipping Label
Creating return labels doesn’t have to be complicated. Here’s a quick guide:
Step 1: Select a Shipping Carrier
Choose a reliable carrier that fits your return policies. Popular options include FedEx, UPS, USPS, and DHL. Consider costs, service quality, and tracking capabilities.
Step 2: Specify the Return Address
Clearly mention the address where returned packages should be sent. Whether it’s a warehouse or a processing center, accurate details help avoid misrouted shipments.
Step 3: Pay for Return Shipping
Businesses can offer prepaid return labels to simplify the process for customers. Covering return costs often leads to higher customer retention.
Step 4: Generate the Label
Use carrier platforms or shipping software to generate return labels. Ensure they include:
- Sender and recipient details
- Barcodes and tracking numbers
- Special shipping instructions (if any)
Step 5: Share the Label with the Customer
Send the label electronically or provide a physical copy. Offering QR codes for digital returns can further enhance the customer experience.
Now that you know how to put a return label on a package, let’s explore the advantages of using return labels in logistics.
Why Businesses Should Use Return Labels
Here’s how return labels benefit businesses:
- Enhanced Customer Convenience
Customers can easily print and attach labels, making returns seamless.
- Streamlined Returns Processing
Pre-printed details speed up returns and minimize manual errors.
- Higher Customer Satisfaction
A smooth return process boosts trust and encourages repeat purchases.
- Fewer Customer Complaints
Clear return instructions reduce confusion and negative feedback.
- Improved Inventory Management
Tracking returns helps businesses analyze trends and optimize inventory.
- Better Tracking and Visibility
Both businesses and customers can monitor returns in real time.
Since we’ve covered the benefits, let’s briefly go over where to put return label on package for hassle-free shipping.
Where to Put Return Label on a Package
Proper placement of the return label ensures smooth processing:
- Affix the label on a flat surface to avoid damage.
- Ensure it’s clearly visible with no folds or wrinkles.
- Avoid placing it on seams or edges that could get damaged during transit.
- If using tape, make sure barcodes remain scannable.
By following these steps, businesses and customers can ensure that returned packages are processed without delays.
FAQs: Making Returns Easy: A Guide to Return Labels
Who pays for the return label?
It depends on the seller’s return policy. Some businesses offer free returns, while others deduct the return shipping cost from the refund.
Can I print a return label at home?
Yes, most e-commerce stores and courier services provide downloadable return labels that you can print at home and attach to the package.
How long is a return label valid?
The validity of a return label depends on the courier and the seller’s policy, usually ranging from 7 to 30 days.
Conclusion
Returns are a crucial part of eCommerce, and return labels play a significant role in making the process efficient. Understanding how to create a return shipping label and how to put a return label on a package can help both businesses and customers manage returns with ease.
With a well-planned return system in place, retailers can enhance customer experience, reduce logistical hiccups, and build long-term loyalty.
So, the next time you’re handling a return, remember – it’s not just about sending a product back; it’s about ensuring a smooth, stress-free experience for everyone involved.