A significant part of small businesses are barcodes. There are various barcode types and identifying each can be a time-consuming process. However, this blog will be your in-depth guide to barcoding for a product. We are going to cover the following topics.
- How to create a barcode for your product
- How to read a barcode
- How to create multiple barcodes at once
Let’s begin with the 10 steps to barcoding for your product.

How to Create Barcode – 10 Steps to Create a Code
Barcoding is easier than you think. Here is a detailed step-by-step guide on – How to create barcodes for your products.
Step 1: Understand the Purpose
Before diving into the technicalities of how to create a QR barcode, it’s essential to understand why barcodes are indispensable for your business. Barcodes simplify the tracking process, minimize errors, and enhance overall efficiency.
Step 2: Choose the Right Barcode Type
There are various barcode types, such as UPC, EAN, and Code 128. Select the one that aligns with your product and industry requirements.
Step 3: Gather Product Information
Compile all the necessary information about your product, including unique identifiers, product name, and any other relevant details.
Step 4: Research Barcode Software
Explore different barcode-generating software options. Consider factors like ease of use, compatibility, and additional features to find the best fit for your needs.
Step 5: Install Chosen Software
Once you’ve selected the software, follow the installation instructions. Most barcode generators come with user-friendly interfaces, making the setup process straightforward.
Step 6: Enter Product Information
Within the software, and input the gathered product information. This step is crucial for creating a unique barcode that accurately represents your product.
Step 7: Generate Barcode
Use the software to generate the barcode based on the entered product information. Verify that the generated barcode aligns with the chosen barcode type.
Step 8: Customize Barcode (Optional)
Some software allows for customization, such as adding a logo or adjusting the color of the barcode. Personalizing your barcode can enhance brand recognition.
Step 9: Test the Barcode
Before mass-producing barcodes for your products, test a few to ensure they scan accurately. This step is crucial for avoiding issues in the later stages of your product distribution.
Step 10: Print and Attach Barcodes
Once satisfied with the test results, proceed to print the barcodes. Attach them to your products in a visible and easily scannable location.
Now, let’s move to the next part on how to read a barcode.
How to Read a Barcode:
1. Acquire a Barcode Scanner:
Purchase a barcode scanner that is compatible with the type of barcode you are using (e.g., UPC, EAN, Code 128).
There are various types of barcode scanners, such as laser scanners, image scanners, and CCD scanners. Choose one that suits your needs and budget.
2. Position the Barcode:
Ensure that the barcode is positioned correctly in front of the scanner. The scanner must have a clear line of sight to capture the barcode.
3. Activate the Scanner:
Depending on the type of barcode scanner, you may need to press a button to activate it or simply pass the scanner over the barcode.
4. Capture the Barcode:
Move the barcode scanner over the entire length of the barcode at a consistent speed. The scanner will emit a light (in the case of laser scanners) or capture an image of the barcode.
5. Decode the Information:
The scanner decodes the information by interpreting the pattern of black and white bars in the barcode. Each line and space in the barcode corresponds to a binary code that represents a specific character or digit.
6. Transmit the Data:
Once the information is decoded, the barcode scanner typically transmits the data to a connected computer, point-of-sale (POS) system, or other devices using a wired or wireless connection.
7. Integration with Software:
Ensure that the software or system receiving the barcode data is compatible with the barcode type you are using. The decoded information may include product details, pricing, or other relevant data.
8. Data Validation (Optional):
Some systems incorporate data validation to ensure that the scanned barcode corresponds to a valid product or item in the database. This helps prevent errors in inventory management.
9. Confirmation and Feedback:
Many barcode scanners provide audible or visual feedback to confirm a successful scan. This feedback assures the user that the information has been accurately captured.
10. Troubleshooting (if necessary):
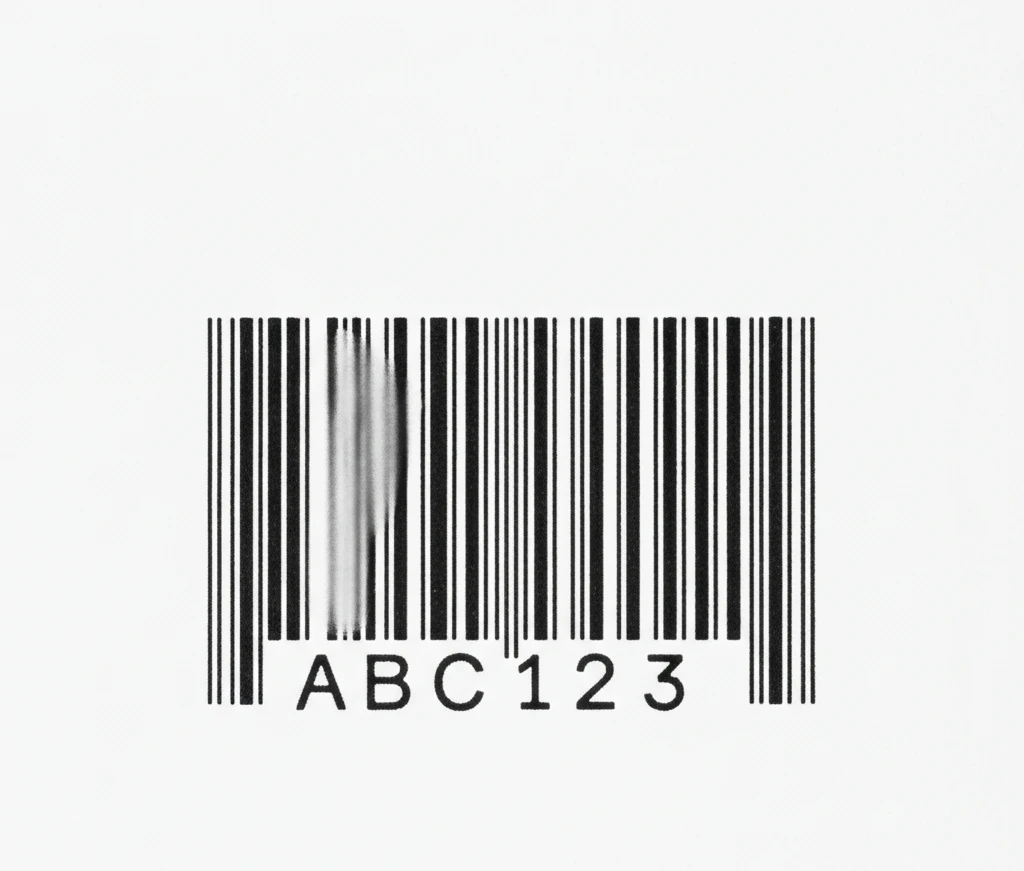
In case of scanning issues, check for factors such as dirt or damage on the barcode, proper positioning, and scanner settings. Regular maintenance of the barcode scanner is essential for optimal performance.
Now, let’s understand how you can create multiple barcodes to save time and efforts.
How to Create Multiple Barcodes – A Quick Guide
How to create multiple barcodes at once? The answer is batch processing. It saves you a significant amount of time and effort, especially if you have a large number of products to label. Here’s a comprehensive guide on how to create multiple barcodes simultaneously:
I. Choose Barcode Generation Software:
Select barcode generation software that supports batch processing. Many professional barcode generators offer this feature, allowing you to create multiple barcodes in one go.
II. Install and Set Up the Software:
Install the chosen barcode generation software on your computer. Follow the installation instructions and ensure that the software is properly configured.
III. Prepare a Data Source:
Create a data source that contains the information for the barcodes you want to generate. This can be a spreadsheet (e.g., Excel, CSV) with each row representing a different product and columns for various details like product name, ID, etc.
IV. Import Data into the Software:
Look for an option within the software to import data. This is usually found in the form of an import wizard or tool. Use this feature to load your prepared data source into the software.
V. Select Barcode Type and Customize Settings:
Choose the type of barcode you want to generate for your products (e.g., UPC, EAN, Code 128). Customize any settings, such as barcode size, color, or additional text, to meet your specific requirements.
VI. Map Data Fields:
Map the data fields from your imported source to the corresponding elements in the barcode. This ensures that the information from your data source is correctly encoded in each barcode.
VII. Verify and Preview:
Before proceeding with the batch generation, verify that the settings and data mapping are correct. Many software tools provide a preview option, allowing you to see how the generated barcodes will look.
VIII. Initiate Batch Generation:
Once you are satisfied with the settings and preview, initiate the batch generation process. The software will use the data from your source to create multiple barcodes simultaneously.
IX. Save or Export the Barcodes:
After the batch generation is complete, save or export the barcodes in a suitable format. Common formats include images (e.g., PNG, JPEG) or vector formats (e.g., SVG, PDF).
X. Print and Apply Barcodes:
If you print the barcodes yourself, use a high-quality printer to produce clear and readable barcodes. Apply the printed barcodes to your products in a location that is easily scannable.
Now, let’s move to the crucial questions that are asked for how to create barcodes.
FAQs – How to Create Barcodes
Can I create my own barcodes?
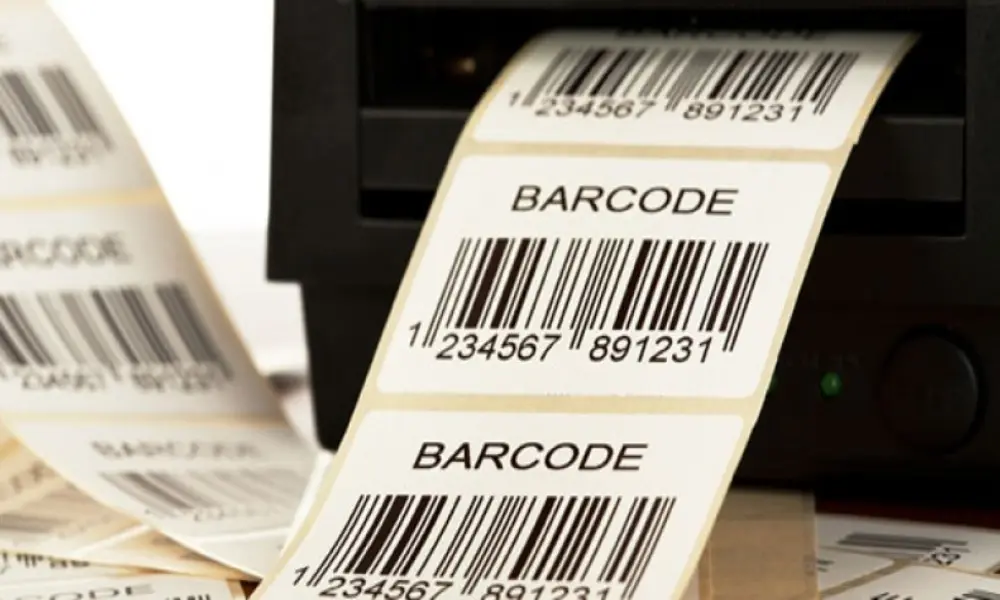
Yes, creating barcodes is relatively easy. You need a computer, software, scanner and a label printer. Set up the entire system and you are good to go for printing barcode labels for your products.
How much does one barcode cost?
The barcode registration fees vary significantly. There are no uniform prices but the average cost of barcode registration in India is 4000 – 6000 INR.
What is the cost of a barcode license?
The cost of a barcode license ranges between 4000- 6000 INR in India.
How can I get a barcode in India?
Register your business with GS1 India to get a monthly subscription to GS1 barcodes. The registration fee varies as per the company policies and their total turnover.
How to create an EAN 13 Barcode?
Enter your details in an EAN 13 barcode generator tool and enter the specific code text, image dimensions, and image type to generate your desired barcode.
How to create a UPC Barcode?
The process of obtaining a UPC barcode involves creating a license for a unique company prefix from your local GS1 office. Next, assign the product number and generate your numeric digit.
How to create a 2D Barcode?
The best way to create a 2D barcode is to use an online barcode generator and software.
Conclusion
Learning how to create barcodes for a link is a valuable investment. This will help you to streamline your business operations and improve your inventory management drastically. However, remember strategic implementation is the key to achieving your desired objectives. There is no one-size-fits-all approach and understanding your business niche and product type is crucial for long-term growth.
Do you want a systematic barcoding solution for your business, look no further than Qodenext to streamline your inventory management operations.
Also read: Barcode Asset Tracking: A Complete Guide in 2023.
